

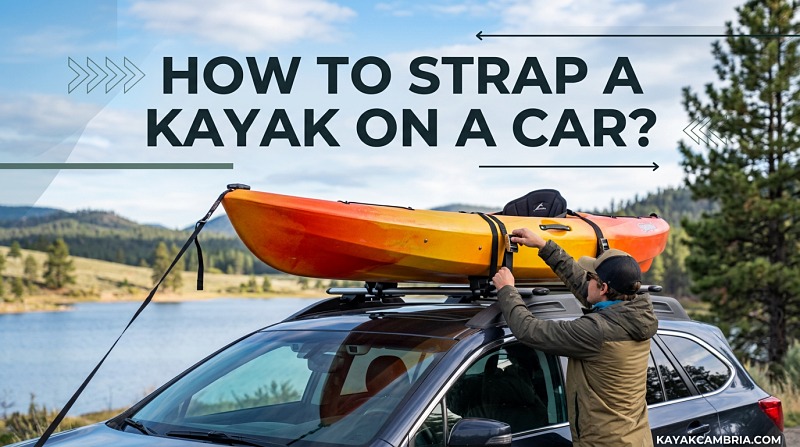
There’s nothing quite like the feeling of anticipation and excitement that comes from a day spent out on the water, paddling your kayak through serene lakes or exciting rapids. That feeling begins long before you reach the water, however, as you prepare yourself and your kayak for the journey to your chosen destination. As with anything in life, proper planning and preparation is key, and knowing how to efficiently and safely strap your kayak to your car for transport can make all the difference between a successful outdoor adventure and a much less enjoyable day due to unexpected hiccups.
In this blog post, we’ll guide you through the ins and outs of strapping a kayak on a car, from choosing the right roof rack and preparing the kayak, to safely lifting the kayak onto your car, and finally, double-checking the security of your setup. Follow these steps to ensure that both you and your precious kayak arrive at your destination free from worry and ready to conquer the water.
Choosing The Right Roof Rack For Your Car
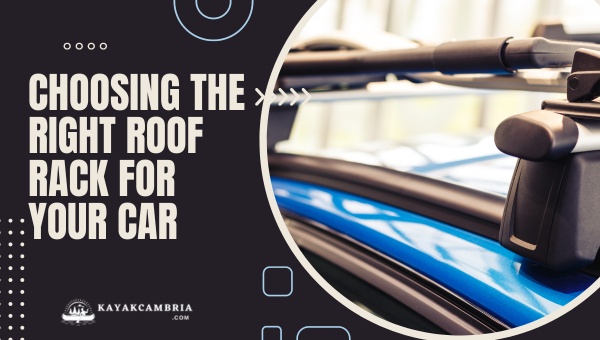
Before you can even begin to think about strapping a kayak to your car, you need to have the right foundation in place: your car’s roof rack. Selecting the best roof rack for your specific car and kayak will ensure a stable and secure transport system. Here’s what you need to consider when choosing the right roof rack:
A. Types of Roof Racks
There are various types of roof racks on the market, each catering to different types of vehicles and carrying capacities. The three most common types include:
- Crossbar Systems: These roof racks consist of two horizontal bars that sit parallel to each other, running from one side of the car to the other. They’re perfect for carrying multiple kayaks or other equipment.
- Foam Block Systems: An affordable and temporary option, foam blocks can be placed directly on your car’s roof and are suitable for those who don’t plan on transporting a kayak frequently. They work best for smaller cars or when a proper roof rack is not an option.
- J-Cradle, Saddle, or Stackers: These specialized mounts attach directly to the crossbars of a roof rack, allowing you to position your kayak on its side (J-Cradle), on the bottom (Saddle), or upright (Stackers). They are designed for easy loading and unloading while providing extra security and stability during transport.
B. Adjusting the Rack for a Snug Fit
Once you’ve chosen the right type of roof rack for your car, it’s crucial to adjust it so that it securely grips the kayak during transportation. Be sure to consult the manufacturer’s guidelines for your specific roof rack system to properly set the spacing, angle, and overall fit. Doing so will prevent any unnecessary movements or damage to your car and kayak during the drive.
C. Securing the Rack to Your Car
After picking and adjusting the right roof rack, make sure it’s firmly attached to your car by following the instructions provided by the manufacturer. Inspect the mounts and connections to ensure that there are no loose parts which could result in an unstable rooftop setup. Double-checking these aspects will help guarantee a safer and smoother journey with your kayak in tow.
Preparing The Kayak For Transport
Before lifting your kayak onto the car, it’s essential to make sure it’s ready for the journey. You’ll want to check your kayak for any damages and properly position it on the ground before attaching bow and stern lines, which will help keep the kayak secure during transportation.
Checking the Kayak for Damages
Inspect your kayak thoroughly for any signs of damage or wear to prevent any potential problems during the transport process. Focus on the hull, deck, and any mounting points for straps or accessories. If you notice any cracks or severe scratches, consider repairing them before hitting the road.
Properly Positioning the Kayak on the Ground
Next, lay your kayak on a flat surface, preferably on top of foam blocks or a soft material, such as a tarp or blanket, to prevent scratches or damages to the hull. Make sure the kayak is parallel to your car and close enough to allow easy lifting.
Attaching Bow and Stern Lines
Once your kayak is on the ground and properly positioned, it’s time to attach the bow and stern lines. These lines are essential for keeping your kayak secure during transportation, and also serve as a backup in case the straps fail. One end of each line should be secured to a sturdy point on the kayak (typically near the carrying handles), while the other end should be attached to a secure point on your car, such as a tow hook, bumper, or trailer hitch. Make sure the lines are taut and free of any frays or signs of wear.
By carefully inspecting, positioning, and securing your kayak, you’re setting the stage for a smooth and worry-free transport experience. In the following sections, we’ll discuss how to safely lift your kayak onto the car, as well as how to tighten and secure the necessary straps.
Lifting The Kayak Onto The Car Safely
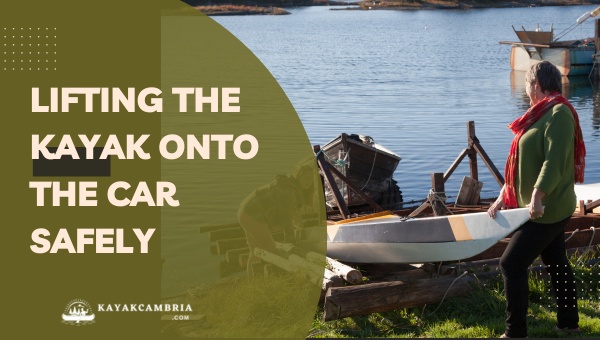
Before getting into the details of lifting the kayak, it’s important to have a buddy to help you with this process. Kayaks can be heavy and awkward to lift, especially if they’re large or if you’re working with limited space. Trying to do this alone could not only lead to damaging your kayak or your car but also increases the risk of injury to yourself.
The Correct Lifting Technique
Following the right lifting technique is crucial to ensure that you don’t strain yourself or damage your kayak. To lift the kayak effectively:
- Stand on each side of the kayak, with each person placing their hands on the kayak’s coaming (the edge around the cockpit) or by gripping the nearest secure point.
- Bend at the knees, keeping your back straight while lifting the kayak. This not only helps to prevent injuries but also makes the lifting process more manageable.
- Coordinate with your partner to ensure that both of you lift the kayak at the same time, which reduces the chance of the kayak slipping or causing strain.
Securing the Kayak on the Roof Rack
Once you’ve safely lifted the kayak, it’s time to secure it onto the roof rack. The way you position the kayak on the rack will depend on the type of rack you have. When placing the kayak on the rack:
- For J-cradle racks, place the kayak on its side with the cockpit facing outward
- For saddle racks, simply place the kayak hull-side down
- For stackers, place the kayak on its side, leaning against the vertical posts
Regardless of the type of rack, always ensure that the kayak is centered on the car’s roof to maintain balance.
Don’t forget to have a buddy to help you lift the kayak, use the correct lifting technique, and secure the kayak on the roof rack according to the rack type. By following these steps, you’ll have your kayak safely loaded and ready for the drive to your paddling destination.
Tightening The Straps Around The Kayak
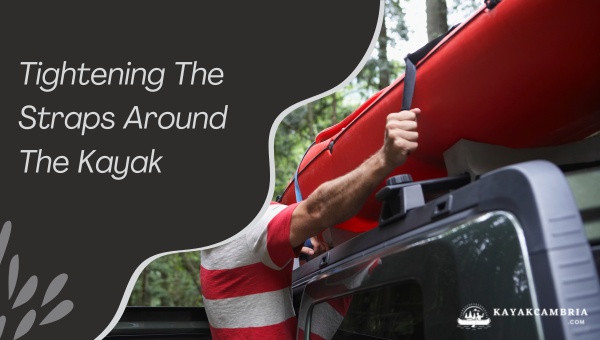
When it comes to securing your kayak to your car, one of the most crucial aspects lies in the straps. Ensuring that your kayak is properly tightened and secure to your vehicle will not only keep your boat safely in place during transit, but it will also provide you with peace of mind during your drive. In this section, we’ll walk you through choosing the appropriate straps, achieving the correct strap tension, and taking necessary precautions to avoid damaging your kayak.
Choosing the Best Straps for Your Kayak
While there are various types of straps on the market designed for carrying kayaks, some are undoubtedly better suited for the job than others. Cam-buckle straps are a popular choice among paddlers due to their ease of use, quick-release mechanism, and reliable grip. Specially designed kayak straps with integrated neoprene or rubber padding are also a good option, as they help prevent damage to your kayak by adding an extra layer of cushioning.
Achieving the Correct Tension
When tightening the straps around your kayak, it’s essential to strike a balance between too loose and too tight. A strap that’s too loose could allow your kayak to shift during transit or possibly even fly off your car, leading to dangerous conditions for both you and other drivers. On the other hand, straps that are too tight can cause damage to the kayak by compressing its structure or scratching the surface.
To find the sweet spot, pull the straps snugly, but without excessive force. You should be able to slide your hand between the strap and the kayak without much resistance, but the strap should feel taut to the touch. Keep in mind that the kayak may settle slightly once strapped down, so it’s a good idea to give each strap a final once-over after your first few miles on the road to ensure optimal tension.
Avoiding Kayak Damage When Strapping
In order to protect your kayak from any damage or wear while on the roof of your car, be sure to take a few simple precautions. First, ensure that there are no sharp edges or exposed metal parts on the straps or roof rack that could harm the kayak’s surface. Next, it’s crucial to avoid over-tightening the straps as mentioned above. Lastly, using a method called the boat-strap sandwich can provide an extra layer of protection by placing a piece of webbing or cloth between the strap and the hull of the kayak.
Armed with these tips for properly tightening your kayak straps, you’ll be well on your way to a safe and enjoyable journey to your chosen paddling destination. Just remember to periodically check strap tension during your drive, and make any necessary adjustments along the way.
Double-checking The Kayak’s Security
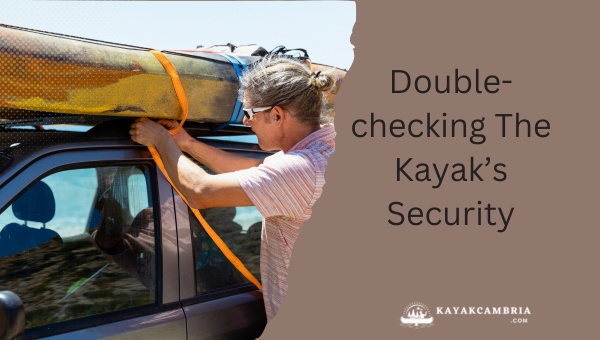
Before hitting the road with your kayak carefully strapped to the roof of your vehicle, it’s crucial to double-check all the straps, lines, and connections to ensure a safe and secure transport. Taking some extra time to really fine-tune your setup could save you a lot of headaches and potential damages down the line.
Inspecting straps and lines for wear and tear
First, give your straps and lines a thorough inspection. Check for any signs of fraying or other damage that might indicate a weakened point. If you find any issues with these crucial securing elements, it’s essential to replace them with new straps or lines before proceeding. Remember that a safe transport relies on the reliability and strength of these components, so never compromise on their condition.
Making adjustments for a perfect fit
Next, make sure all the buckles and adjustment points of your straps are securely fastened and properly tightened. Not only should the kayak be held firmly in place, but avoid over-tightening, which could cause damage to the hull. Going over each connection once more is an easy way to ensure a secure fit and avoid any surprises on the road.
Performing a safety test before hitting the road
Finally, perform a safety test by gently shaking your kayak to make sure it doesn’t move around too much on the roof of your car. It should have a little bit of give, but not so much that it wobbles or moves excessively. If anything feels loose, reevaluate the way you’ve strapped it down and make any necessary adjustments.
Remember, taking the time to perform these final checks will provide you with peace of mind during your journey and increase the odds of a successful and hassle-free kayak outing.
Tips For A Smooth Journey On The Road
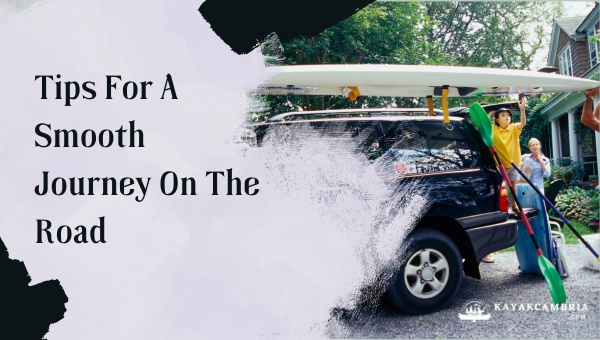
Navigating the road with a kayak perched on top of your car might feel intimidating at first, but with the right preparation and a few helpful tips, you can make your journey a comfortable and enjoyable experience. Here are some pointers to ensure a smooth ride.
Drive Cautiously with a Kayak on the Roof
Safety should always be your top priority when driving with a kayak on your car. Be extra vigilant in your driving to help reduce the risk of accidents and to protect both yourself and your kayak.
- Accelerate gently: This helps to minimize the strain on your straps and roof rack, reducing the chances of anything coming loose.
- Brake gradually: Avoid sudden hard stops, as they can cause your kayak to shift or even loosen from its position.
Stay Aware of Your Surroundings
When driving with a kayak on your car, it’s crucial to remain even more aware of your surroundings than normal.
- Keep an eye on overhead clearance: Be extra cautious when approaching bridges, parking garages, and even tree limbs, to avoid any potential damage to your kayak or car.
- Monitor your side mirrors frequently: This will allow you to spot any possible movement or changes in your kayak’s position, allowing you to pull over and remedy any situations that may arise.
Avoid Sharp Turns and Sudden Stops
Maneuvering your car with a kayak mounted on the roof requires extra care to keep everything secure.
- Take turns gently: Making wide, smooth turns will help prevent any sudden jerking motions that could potentially cause your kayak to shift.
- Leave ample space between you and other vehicles: Giving yourself extra room will allow for more gradual braking, reducing the risk of an emergency stop or rapid slowing which could cause the kayak to become unstable.
By adhering to these guidelines and maintaining a cautious and mindful approach to the road, you’ll increase the odds of a pleasant, hassle-free journey with your kayak in tow. As the old saying goes, it’s better to be safe than sorry – especially when you’ve got precious cargo strapped to your roof.
Unloading The Kayak With Care
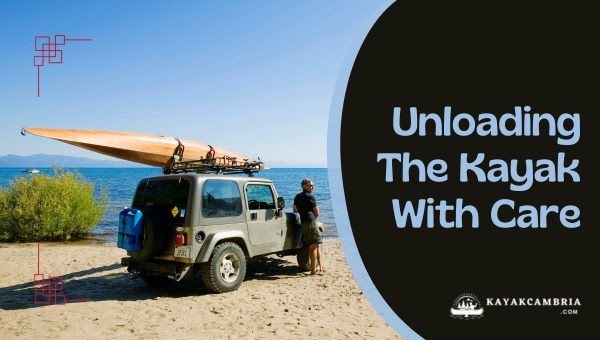
After a thrilling day of paddling and exploring, it’s time to head back home and properly unload your kayak from the car. Ensuring that you dismount the kayak with care is essential to maintain its condition and prevent any damages. Follow these steps to safely and effectively unload your kayak:
Removing Straps and Lines in Order
Before you start, make sure to carefully untie and unstrap your kayak from your car. Begin by loosening the bow and stern lines before detaching the main roof straps. Stay mindful during this process, and double-check that you haven’t missed any straps or lines that may still be attached to your car.
The Safe and Effective Way to Lift the Kayak Off the Car
As with loading, it’s always best to enlist the help of a friend when unloading your kayak. Position yourselves at opposite ends of the boat and utilize the same lifting technique you used when loading your kayak. Make sure you and your buddy are lifting evenly and share the weight distribution to prevent any damage to your boat.
Handling the Kayak After It’s Off the Roof
Once the kayak is off the car, carefully place it on the ground or on a secure surface. Be sure to rest the kayak on its hull or side, rather than on its cockpit rim or deck. Avoid direct contact with rocks, concrete, or any other abrasive materials which may cause damage to your kayak’s outer layer. If you need to transport your kayak over a short distance, consider using a kayak cart to make the process easier.
By following these unloading guidelines, you can ensure the safety and longevity of your kayak. Moreover, taking care during the unloading process can save time and frustration when it comes to planning and embarking on your next kayaking adventure.
Frequently Asked Questions
1. What’s the best method for strapping a kayak on a car single-handedly?
Solo kayakers can use a technique called “loading from the rear.” Place a towel or foam pads on the rear edge of the car’s roof, lift the bow of the kayak, and place it on the padded surface. Gradually push the kayak forward onto the roof rack. Always remember to lift with your legs and not your back to prevent injuries.
2. How can I be sure the straps are tight enough without damaging my kayak when securing it to the roof rack?
To find the right tension, tighten the straps until they are snug and the kayak does not move or wobble. Then, try to turn the kayak slightly. If it’s well secured, it should not be easy to turn. Be cautious about over-tightening the straps, as too much tension can damage the kayak’s hull.
3. How often should I check and adjust the kayak straps during a long trip?
It’s a good practice to stop and check your straps every 1-2 hours during the drive, more often if you are traveling on bumpy or uneven roads. This way, you ensure that the kayak stays secured and won’t shift or loosen along the way.
4. Are there any additional accessories to help secure my kayak?
Yes, you can purchase accessories such as a cockpit cover, nose and tail foam pads, and additional tie-down straps for a more secure fit. Additionally, cable locks and locking straps can enhance security and reduce the risk of theft.
5. Can I carry more than one kayak on my car’s roof rack?
It depends on your roof rack’s size and weight capacity. If it can hold more than one kayak while also respecting the maximum weight limit of your vehicle’s roof, then you can transport multiple kayaks. Note that you might need additional J-cradles or saddle mounts to secure them properly.
6. How much space should there be between the two crossbars of the roof rack?
It’s recommended to have your crossbars placed between 24 and 36 inches apart or wider, depending on the size of your kayak. This distance ensures adequate support while also reducing the chances of your kayak wobbling and shifting during transit.
7. Are there any legal restrictions to carrying a kayak on my car?
Laws and regulations regarding carrying a kayak on your car vary depending on the state or country. It’s good practice to verify local regulations. However, it is generally required that you use a red flag to mark any kayak extending beyond the rear of the vehicle, and in some cases, you may need additional lights or reflectors.
Conclusion
In conclusion, strapping a kayak on a car may seem like a daunting task initially, but with proper planning, the right equipment, and following the steps mentioned in this guide, it can be an uncomplicated and enjoyable process. The key is to familiarize yourself with the technique and to prioritize safety for both yourself and your precious kayak. By doing so, you’ll have peace of mind while driving to your desired destination, ready to embark upon a great adventure on the water. It’s time to load up your kayak and explore the beauty of tranquil lakes, winding rivers, or the open sea with complete confidence. Happy kayaking!