

As a passionate kayak angler, I understand the excitement and satisfaction that come from reeling in a catch after hours of patiently waiting. But let’s face it: we all wish we had a little more success during our fishing expeditions. In recent years, I’ve found an indispensable ally in the fish finder. Packed with advanced features and delivering detailed, real-time data about my surroundings, it has quickly become an essential part of my kayak fishing setup.
If you’ve ever wondered how one can improve their fishing experience and increase their chances of catching more fish, then look no further. In this comprehensive guide, I’ll take you through the entire process of selecting, installing, and using a fish finder on your kayak.
So, tighten your life vests and grab your paddles; together, let’s dive into the world of fish finders and unlock the secrets of the deep!
Why Install A Fish Finder On Your Kayak?
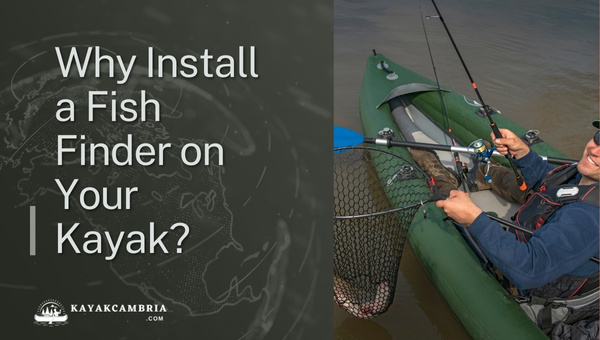
So, you may be wondering, why should you even consider installing a fish finder on your prized kayak. As an enthusiastic angler, I’ve learned the hard way that locating fish is often the most challenging part of kayaking fishing trips. Here’s where the fish finder comes to the rescue.
1. Advantages in Accuracy
Having a fish finder on your kayak has the immediate benefit of improving your accuracy in locating fish. By using sonar technology, fish finders provide valuable information such as depth, fish location, and even the structure and temperature of the water.
2. Increased Catch Rates
For most kayak anglers, the primary objective is to catch more fish. A fish finder greatly increases your chances of finding areas where fish are abundant, thus improving your catch rates. With more targeted fishing, you won’t have to rely on guesswork or luck to reel in those fish.
3. Efficient Time Management
Thanks to a fish finder on your kayak, you’ll now be able to utilize your time on the water more effectively. By identifying the best spots to drop your line, you’ll spend less time paddling around aimlessly. A fish finder saves you time and energy, meaning you can focus on what you love most – catching fish.
4. Enhanced Situational Awareness
Another key reason to install a fish finder on your kayak is the added situational awareness that it provides. Not only does it show fish and structures below the surface, but it also alerts you to potential hazards lurking underwater. This information allows you to make better decisions, maximizing your overall fishing experience.
5. Expanding Your Fishing Knowledge
Last but not least, installing a fish finder on your kayak improves your overall knowledge and understanding of the aquatic environment you’re fishing in. By learning to read the data displayed by your fish finder, you’ll become more adept at selecting the right bait, implementing successful fishing techniques, and timing your fishing trips to take advantage of optimal conditions.
Now that we’ve covered the importance of installing a fish finder on your kayak, it’s time to discuss the various types available to help you choose the perfect one for your needs.
Types Of Fish Finders For Kayaks in 2026
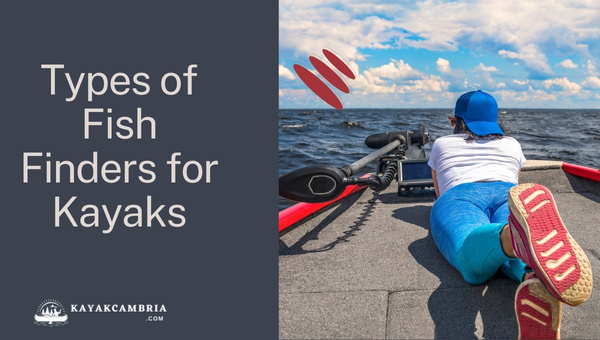
As you explore your options for fish finders, you’ll come across a variety of different styles and features to choose from. It’s essential to understand the types of fish finders available to make an informed decision that best suits your kayak fishing needs. Here’s a breakdown of the three main types of fish finders for kayaks:
1. Standalone Fish Finders
Standalone fish finders are the most basic and affordable option in the market. They focus primarily on providing you with a clear view of underwater structures, fish arches, and water depth. These units are perfect for those who are just entering the world of kayak fishing, as they are easy to install and operate.
Standalone fish finders typically lack the additional features and capabilities of more advanced models. However, I have found that they can be an excellent option for anglers who prefer a simple, no-frills approach to locating fish beneath the surface.
2. Combo Fish Finders
Combo fish finders, as the name suggests, are a combination of fish finders and other essential gadgets, such as GPS and chart plotting. These units offer a well-rounded approach to help you make the most out of your angling experience. I especially appreciate that combo fish finders allow me to pinpoint my position, track my favorite fishing spots, and mark productive locations for future reference.
Some combo fish finders also come with built-in maps and allow for custom mapping, further enhancing your ability to navigate your chosen waters with ease.
3. Network Fish Finders
Network fish finders are the most advanced and feature-rich option available, catering to professional or serious kayak anglers. Not only do they offer the standard features of a fish finder, but they also enable you to integrate various devices and accessories, such as radar, weather, and radio, to create a seamless and versatile marine network.
These fish finders can often be customized to suit your specific needs, allowing you to create the ultimate kayak fishing hub. Keep in mind that such sophisticated units often come with a steeper learning curve and a higher price tag.
When looking for the perfect fish finder for your kayak, carefully consider your skill level, preferences, and budget. Additionally, weigh the pros and cons of each type, and don’t forget to check online reviews from fellow anglers to ensure you’re making an informed decision.
Preparing For The Installation

Before diving into the process of installing a fish finder on my kayak, I had to make sure I was well-prepared. To ensure a successful setup, there are several crucial steps that I took:
1. Gathering the Necessary Tools and Materials
I had to make sure I had all the required tools and materials for the installation. Some essentials I needed included a drill, screwdriver, marine sealant, zip ties, and a mount for the fish finder. Additionally, I needed extra screws, washers, and other hardware that were necessary for assembling and securing the components.
2. Understanding the Fish Finder’s Components
To install the fish finder smoothly, I had to familiarize myself with its components. A typical fish finder system comprises a fish finder display, a transducer, a mount for each, and wiring for the power supply. Knowing the function of each part helped me in ensuring proper installation and better performance.
3. Selecting the Best Location for Installation
Finding the ideal location for installation was pivotal to optimizing the fish finder’s performance. I wanted to make sure that the transducer was placed in an area with unobstructed access to the water for accurate readings. Moreover, I needed the fish finder display to be within my reach but not interfere with my paddling, as well as to have a safe and secure spot for the battery.
By taking the time to prepare for the installation properly, I felt confident in achieving a successful setup on my kayak, ultimately leading to a more enjoyable and fruitful kayak fishing experience.
Installing The Transducer
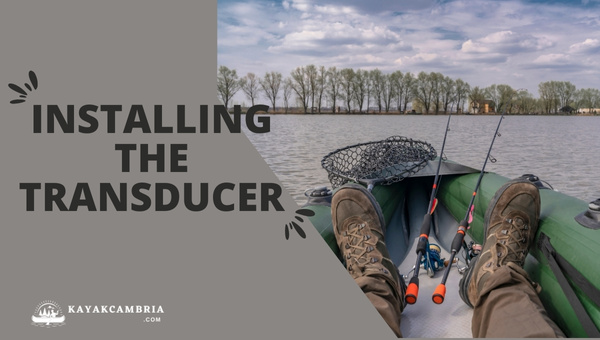
Installing the transducer is considered the most crucial part of setting up a fish finder on your kayak. A well-installed transducer ensures optimal functionality and accuracy. Let’s dive into the different aspects of installing a transducer on your kayak.
Getting Familiar with the Transducer
Before the installation, it’s important to understand the purpose of the transducer and its various parts. Essentially, the transducer acts as the eye of the fish finder. It emits sonar waves, which then bounce off objects underwater and return to the transducer. This data is then sent to the display unit, giving you a clear picture of what’s happening beneath your kayak.
Choosing the Right Mounting Method
There are different methods to mount your transducer:
- In-hull: The transducer is attached inside the hull of the kayak and is in direct contact with the water through a small hole.
- Through-hull: The transducer is mounted through a hole made in the kayak’s hull and extends into the water.
- Scupper hole: The transducer is installed through one of the kayak’s scupper holes if available, ensuring a clean and easy installation.
- Arm mount: The transducer is mounted on an adjustable arm, which is then connected to the kayak.
Each method has its advantages and drawbacks. Regardless of the method you choose, it’s essential to ensure that the transducer has a clear and uninterrupted path to the water to ensure accurate readings.
Positioning the Transducer
Once you’ve decided on the mounting method, carefully choose a location for the transducer. Keep in mind that its location should not interfere with paddling or cause turbulence that could affect the sonar signal. Also, avoid placing it too close to other electronics to prevent any interference.
Ensure that the transducer is positioned facing directly downward to guarantee accurate depth readings. Double-check if the transducer is level with the water when the kayak is in its usual fishing position.
Securing the Transducer
After determining the optimal position, secure the transducer using the hardware provided by the manufacturer or suitable alternatives. If using adhesives or sealants, be particularly careful with the application, ensuring that the connection is both solid and watertight.
To wrap up the transducer installation, revisit all aspects, ensuring that it’s mounted correctly, and giving you accurate readings to boost your kayak fishing success. Simply follow the aforementioned instructions, and you’ll be well on your way to becoming a skilled angler!
Mounting The Fish Finder Display
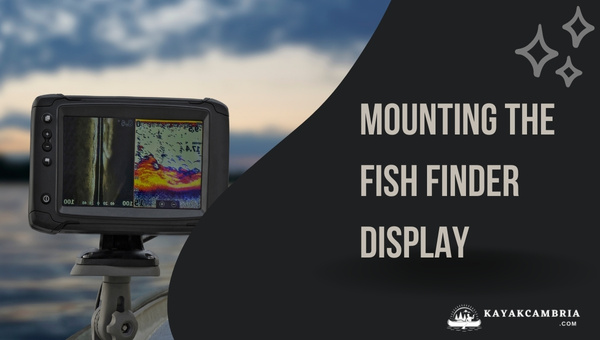
Once you’ve chosen the perfect fish finder for your kayak, the next important step is mounting the display so it’s easily accessible and visible while you’re out on the water. In this section, I’ll share some tips and considerations on how to mount the display like a pro.
Choose the right mounting location
When selecting the ideal mounting location, you need to keep a few factors in mind. Firstly, the display should be within your arm’s reach while seated in your kayak. Secondly, it should be easily visible without you having to strain your neck or squint your eyes. Lastly, ensure the chosen spot doesn’t obstruct your paddle movements or access to other fishing gear.
Explore different mounting options
There are a few different methods you can use to mount your fish finder display on your kayak:
- Suction cup mount: This option is easy to install and allows you to adjust the position of the display whenever you want. However, suction cup mounts may not be as stable or secure as other options.
- Rail mount: This type of mount is designed to attach to kayak rails or track systems. They offer a more stable and secure connection compared to suction cups.
- Flush mount: For kayakers who want a more integrated look, flush mounts involve embedding the display into the kayak’s hull. Although this option may require some additional skill and effort, it helps save space and keeps the display safe from damage.
- Custom mount: If you enjoy some DIY, you can also create a custom mount for your fish finder display, tailored to your kayak’s unique layout and your preferences.
Adjust the display for optimal viewing
Once you’ve selected the mounting location and method, you’ll want to adjust the display angle according to your usual seating position. A good practice is to sit in your kayak (on dry land) and make any necessary adjustments to achieve the best possible view.
Remember, a well-mounted fish finder display will not only improve your fishing experience, but it will also help you get the most out of your investment. So, take your time to explore different mounting options and tools to ensure the display is securely installed and easily accessible while you’re out on the water, tracking down your next big catch.
Wiring The System And Connecting The Power
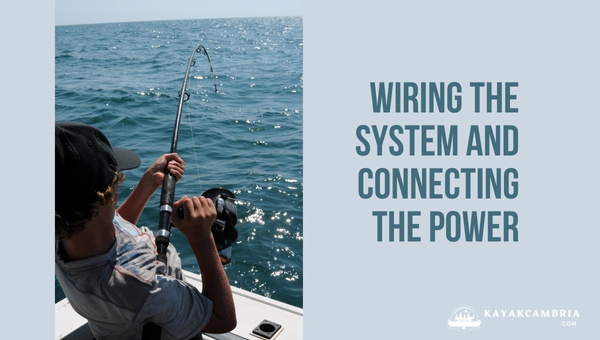
Wiring the fish finder system in a kayak doesn’t have to be a daunting task. With a little patience and proper planning, you’ll be able to neatly and safely connect your fish finder system to a power source. Follow the steps below to ensure a seamless installation.
Running the Cables
To start, begin by running the cable from the fish finder display unit to the transducer. When installing the cables, it’s essential to route them in a way that doesn’t interfere with your paddling or other kayak gear – this is where velcro strips, cable ties, or running the cables through internal kayak struts through can easily come in handy.
- Keep the length of exposed cable to a minimum
- Ensure cables are away from moving parts and sharp objects
- Use waterproof sealants or cable organizers to keep everything neat and tidy
Connecting and Sealing the Wires
Connecting the fish finder’s power cable to the battery will require a waterproof connection to prevent any potential damage to the system. You’ll want to ensure you use heat-shrink tubing or waterproof connections, like quick-disconnect terminals, for added protection.
- Strip the cable wires if necessary
- Twist the wire ends together or use crimp connectors
- Apply heat-shrink tubing or a waterproof sealant to the connection
Choosing the Right Battery and Securing It in Your Kayak
Selecting an appropriate battery for your fish finder is crucial, as the battery’s weight and capacity need to be balanced with your kayak fishing needs. Common batteries, like 12-volt rechargeable options, are popular choices for kayak fish finders because they offer an ideal combination of power, size, and weight.
- Battery capacity: Consider higher capacity batteries to ensure a longer runtime between charges
- Battery weight: Look for lighter lithium-ion batteries for better kayak performance
- Battery box or bag: Use a waterproof battery box or bag for protection and easy storage
With the cables neatly connected and strains relieved, your fish finder installation should be properly powered up, resulting in an efficient and organized system. Remember to always inspect your connections before hitting the water to ensure your fish finder is functioning at its best!
Testing And Calibrating Your Fish Finder
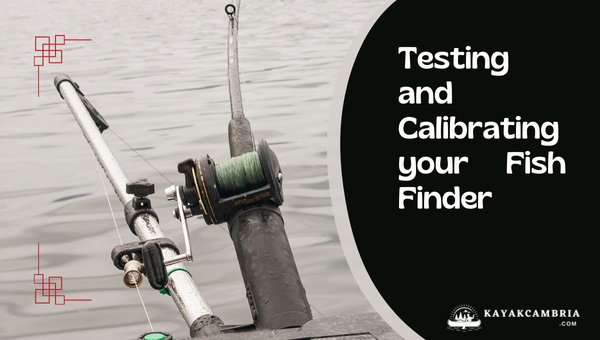
Once you’ve successfully installed your fish finder on your kayak, it’s time to test and calibrate the system before hitting the water. This step is essential to ensure optimal performance and accuracy during your fishing trips. In this section, I’ll guide you through the process of testing and calibrating your fish finder for the best results.
Checking for Proper Transducer Placement
To begin, inspect the transducer placement to make sure it’s secure and in the correct position. To do this, place your kayak in the water, but remain close to the shoreline. On the fish finder’s display, check the sonar return for clarity and consistency. If the readings appear erratic or unclear, there might be an issue with the transducer’s placement or connection that should be addressed.
Adjusting the Display Settings
Next, adjust the display settings of your fish finder based on your preference and the current water conditions. Typical settings to calibrate would include the sensitivity, range, and zoom levels. The fish finder’s manual will likely provide guidance on how to make these adjustments, as well as recommendations on which settings work best for various fishing conditions.
Testing the Fish Finder in Real-Life Conditions
Of course, the true test for any fish finder is its performance in real-life conditions. Venture out onto the water and use your fish finder to locate and track fish. Pay attention to the display and ensure the sonar returns are clear, accurate, and easy to interpret. Keep in mind that different fishing locations and environments may require adjustments to the settings.
During this test, also keep an eye on the battery life of your fish finder. Make a mental note of how long your fish finder operates on a full charge, and remember to bring spare batteries or a charging system on longer trips.
Investing time in testing and calibrating your fish finder will enhance your fishing experience and increase your chances of a successful catch. As you grow more comfortable with your fish finder, don’t forget to experiment with different settings and features to discover what works best for your fishing style and location. With practice and patience, you’ll become a fish-finding master in no time.
Fish Finder Maintenance And Troubleshooting
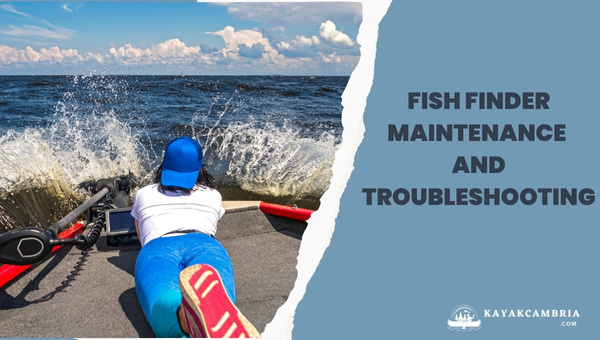
As with any piece of electronic fishing gear, proper maintenance and care are essential to ensure your fish finder continues to perform at its best. In this section, I’ll share some tips on keeping your fish finder in top condition and provide guidance on troubleshooting common issues that may arise.
Keep Your Components Clean
It’s vital to keep your fish finder’s components clean as dirt, grime, and debris buildup can impair your device’s performance. After every fishing trip, give the transducer and display a gentle wipe-down with a soft damp cloth or sponge. Avoid using harsh chemicals or abrasive materials as these can cause damage to the sensitive components.
Proper Storage and Transportation
When not in use, store your fish finder in a cool and dry place, away from direct sunlight and extreme temperature fluctuations. Consider investing in a protective case or cover to shield your device from dust and moisture when not in use. Keeping your device safe and secure during transportation is equally important. Ensure your fish finder’s display and transducer are properly secured to prevent potential damages.
Troubleshooting Common Problems
If you’re experiencing issues with your fish finder, it’s essential first to consult the user manual or the manufacturer’s website for guidance. However, here are some general tips that might help you troubleshoot common problems:
- No Signal or Poor Signal: Double-check that the transducer is properly connected and positioned. Ensure it’s not obstructed by debris, and also verify that there is no damage to the cables.
- Inaccurate Readings: Make sure your transducer is clean and correctly installed. Calibration settings may also need to be adjusted.
- Display Issues: If your display is experiencing glitches or not showing images correctly, check for any loose cables or software-related issues. You can try restarting the device or performing a factory reset if needed.
- Battery Problems: Ensure your battery is fully charged and properly connected. It could also be time to replace the battery if it’s not holding charge efficiently.
Seek Professional Help When Needed
If you’re unable to resolve an issue on your own, it’s best to consult with the manufacturer or a professional technician. Attempting to repair a fish finder without proper knowledge can void the warranty and potentially damage the device further.
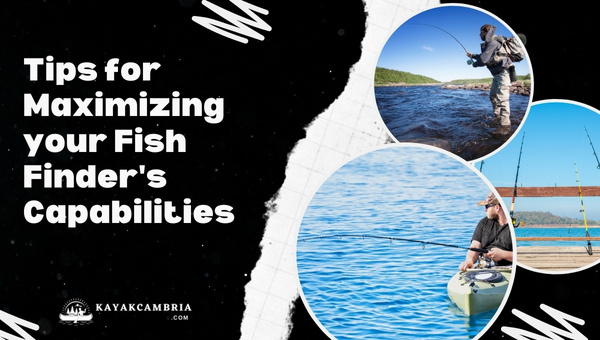
Tips For Maximizing Your Fish Finder’s Capabilities
Understanding Sonar Technology
An essential first step in extracting the full potential of your fish finder is to familiarize yourself with the sonar technology it utilizes. There are two main types of sonar: Down Imaging (DI) and Side Imaging (SI). Down Imaging offers a detailed view of the terrain beneath your kayak, while Side Imaging displays a wider view of the area surrounding the kayak. Understanding these two types can help you make better decisions and locate fish more efficiently.
Reading and Interpreting the Display
To maximize the capabilities of your fish finder, you must be able to read and interpret the data displayed on the screen accurately. As a start, familiarize yourself with the symbols and patterns that represent fish, vegetation, and the bottom structure.
- Fish Arch: A common fish symbol on fish finders, represented by an arch shape. The size and width of the arches can give you an idea of the size of the fish.
- Fish ID: Some fish finders convert the arch into a fish icon, providing a more straightforward representation.
- Vegetation: Lines or patches seen on the display, indicating aquatic plants.
- Bottom Structure: The lines and contours displayed represent the underwater terrain including, rocks, sand, and mud.
Adapting Your Fishing Techniques Based on the Fish Finder’s Data
Once you’ve learned how to read and interpret the data from your fish finder display, you can start using these insights to adapt your fishing techniques accordingly. For example, when you detect fish hiding in vegetation, you can use weedless hooks or lures to avoid getting snagged. Similarly, if you notice fish are suspended at a certain depth range, you can adjust your lure presentation to target that depth specifically.
Using the Zoom Function and Sensitivity Settings
Many fish finders come with a zoom function that allows you to focus on a specific depth range. Use this feature effectively to scrutinize the areas of interest and identify fish that are tightly packed in small spaces. You can also adjust the sensitivity settings to filter out unnecessary noise and clutter on the screen. Experiment with different sensitivity levels and find the one that works best for the type of fishing you are doing.
Waypoints and Mapping
If your fish finder is equipped with GPS capability, take advantage of this feature by marking waypoints in locations where you have success, including fish schools, structures, and depth changes. You can also utilize the mapping function to track your path and mark points of interest. This can help you plan your next trip and save time searching for the best fishing spots.
By following these tips to maximize your fish finder’s capabilities, you’ll be well on your way to a more productive and enjoyable kayak fishing experience.
Essential Fish Finder Accessories For Kayak Fishing in 2026
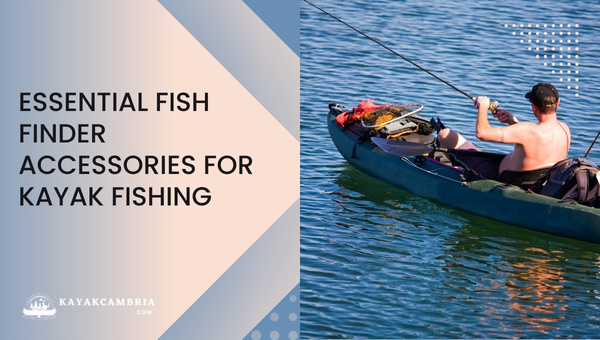
Once you’ve successfully installed a fish finder on your kayak, it’s time to consider some essential accessories that can make your fishing experience even better. Here, I present a list of must-have fish finder accessories specifically designed for kayak fishing:
1. Protective Cases
A protective case not only keeps your fish finder safe from potential impacts and scratches but also shields it from the elements. Several manufacturers offer waterproof cases specifically designed for popular fish finder models. Choosing a high-quality, durable case is crucial for extending the life of your prized fishing gadget.
2. External Battery Packs
Fish finders require a reliable power source for optimum performance. Most kayak anglers prefer compact, rechargeable battery packs to power their devices. When choosing an external battery pack, consider factors like run time, durability, and ease of recharging. If you plan to fish for extended periods, having a spare battery pack is always a good idea.
3. Mounting Kits and Adapters
While your kayak may already have a specific location for mounting your fish finder display, investing in a versatile mounting kit can make it easier to customize the placement and viewing angle. Choose a mounting system that offers flexibility, stability, and ease of installation. If you plan to use multiple devices, such as a fish finder and GPS, consider a multi-functional mounting platform.
4. Transducer Extension Cables
In case the stock transducer cable is not long enough to reach your fish finder display comfortably, a transducer extension cable becomes an essential accessory. It allows you to place the fish finder display in the most convenient location without being restricted by cable length. Remember to choose a suitable extension cable compatible with your specific fish finder model.
5. Screen Protectors
The fish finder’s display is its most vulnerable part and should be well protected at all times. A clear, high-quality screen protector defends against scratches, smudges, and other potential damage. Investing in a good screen protector not only ensures the longevity of your device but also enhances your viewing experience.
To make the most of your fish finder while kayak fishing, I strongly recommend investing in the essential accessories mentioned above. They will not only protect your investment but also help optimize your angling experience on the water.
Must-Know Fish Finder Terminology
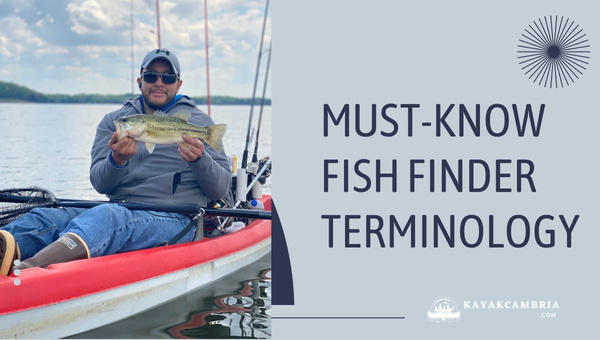
As a kayak angler, it’s essential to understand the terminology associated with fish finders to make the best use of your device. In this section, let’s dive into some of the key terms you’ll come across when operating your fish finder.
1. Transducer
The transducer is the sonar device that sends and receives sound waves, giving you a clear image of what’s beneath the water. It converts electrical energy into sound waves and then back into electrical energy to create a picture of the underwater world.
2. Sonar
Sonar (short for sound navigation and ranging) is the technology used by fish finders to create an image by emitting sound waves into the water and receiving the echo. Fish finders have two primary types of sonar:
- Single-frequency (Standard) – Offers a basic view beneath the surface, primarily for depth, fish, and terrain.
- Dual-frequency (CHIRP) – Provides more detail and accurate readings, especially in deep water.
3. Fish Arch
Fish arch refers to the arch-shaped marks on the fish finder display that indicate the presence of fish. The size and shape of the arch are affected by factors such as the size of the fish, depth, and boat speed.
4. Fish ID
Fish ID is a feature that helps inexperienced users identify fish in the water. It replaces the traditional fish arches with fish icons on the display, making it easier to spot potential catches.
5. Beam Angle
Beam angle is the width of the sonar cone emitted from the transducer. A wide beam angle is suitable for shallow water and offers a larger coverage area, while a narrow beam angle penetrates deeper water, providing a more detailed view.
6. Cone Angle
The cone angle, typically expressed in degrees, represents the view angle of the sonar beam. A wider cone angle increases the area covered at a given depth but may sacrifice detail, whereas a narrower cone angle will provide a smaller coverage area with more detail.
7. Pixels
Pixels are the smallest units that make up an image on your fish finder display. A higher pixel count indicates higher resolution, which results in a clearer, more detailed image.
8. CHIRP (Compressed High-intensity Radiated Pulse)
CHIRP is a more advanced form of sonar that sends multiple frequencies in a single pulse, resulting in a clearer, more detailed image with better target separation.
9. GPS (Global Positioning System)
GPS is the satellite-based navigation system that many fish finders use to provide accurate location details, helping you to mark and navigate to productive fishing spots.
Staying Safe While Using A Fish Finder On Your Kayak

Safety is always a top priority, especially when it comes to enjoying your kayak fishing adventures. While fish finders can enhance the experience, it’s essential to ensure that convenience doesn’t compromise safety. Here, I will discuss my experience and strategies for staying safe while using a fish finder on my kayak.
Pre-Trip Preparation
Before setting off on any fishing trek, it’s crucial to inspect your kayak and equipment thoroughly. This ensures that all gear, including your fish finder, is in proper working condition.
- Check all connections: Be sure that your fish finder’s wiring and connections are secure and free of any damage.
- Inspect your kayak: Look for any signs of wear or damage on your kayak’s hull and make necessary repairs when needed.
- Carefully stow your gear: Make sure all accessories are safely stored and secured to your kayak to prevent any accidents.
Weather and Water Condition Considerations
Understanding and paying attention to weather and water conditions is vital for your safety on the water.
- Monitor the forecast: Keep an eye on the weather reports for the day and be prepared to make adjustments or turn back if conditions worsen.
- Take note of tides and currents: If you are fishing in an area with strong tides or currents, it’s essential to be aware of these changes and how they may affect your kayak’s stability.
- Be aware of water temperature: Cold water can be dangerous, even for experienced anglers. Make sure you dress appropriately and always carry safety gear.
Using the Fish Finder Safely
While using your fish finder on the water, it’s crucial to stay focused on your surroundings and maintain safe practices.
- Be aware of distraction: A fish finder can be a helpful tool, but don’t let it distract you from your environment. Take care to maintain a proper lookout and avoid collisions with other vessels or obstacles in the water.
- Maintain a safe distance from obstructions: Use your fish finder to navigate around underwater hazards safely, but don’t rely solely on the device for your safety. Always maintain a proper distance from any potential obstructions.
- Conduct regular safety checks: Periodically check your fish finder’s connections and operation to make sure everything is in working order. This helps prevent any surprises or malfunctions while on the water.
Balancing Convenience and Safety
Having a fish finder on your kayak can undoubtedly make fishing trips more enjoyable and successful. However, it’s essential to remember that safety should never be compromised for the sake of convenience. By following these precautions, you can ensure that you have an enjoyable and safe kayak fishing experience with your fish finder by your side.
Integrating Other Kayak Fishing Gear With Your Fish Finder
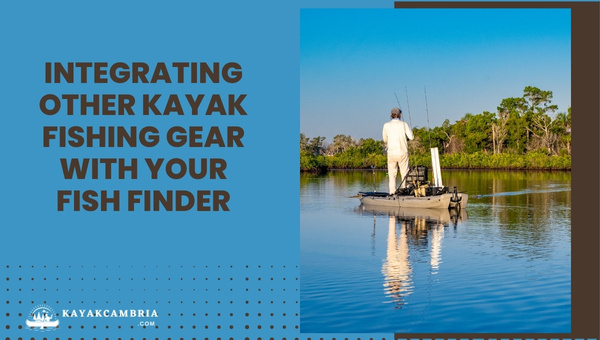
Fishing is an art that constantly evolves along with the angler’s skills, knowledge, and equipment. By combining the use of a fish finder with other kayak fishing gear, we can optimize our chances of success. In this section, I will discuss how to integrate other kayak fishing accessories with your fish finder.
1. Trolling Motors and Anchors
Trolling motors and anchors are essential kayak fishing accessories that can be integrated with your fish finder to maximize efficiency. Trolling motors allow you to maneuver your kayak at varying speeds while you scan the water for fish using your fish finder. Many trolling motors are now GPS-compatible and can communicate with your fish finder, allowing you to create custom routes and navigate to waypoints with ease.
Anchors, particularly electronic or motorized ones, can also be beneficial when used in conjunction with fish finders. With the fish finder’s assistance, you can identify a prime fishing spot and drop your anchor with precision. This helps to ensure that you stay in the ideal location to catch fish.
2. GPS Devices and Apps
Many fish finders these days come with built-in GPS functionality, but if yours doesn’t, it’s still worth considering how to integrate a standalone GPS device or app into your fishing setup. By syncing your GPS with your fish finder, you can save waypoints for productive fishing spots, create custom routes, and track your fishing adventures.
There are also numerous fishing apps available that can further enhance your fish finder’s capabilities. Some apps integrate with your fish finder and GPS, helping you predict fish behavior, share fishing spots, and more. For example, Navionics and Fishbrain are two popular fishing apps that offer a range of useful features for kayak anglers.
3. Rod Holder Setup
One often overlooked aspect of integrating your fish finder with other kayak fishing gear is your rod holder setup. With your fish finder providing valuable real-time feedback about fish activity, you’ll want easy access to your rods. Maximize your kayak’s space by arranging rod holders within arm’s reach while ensuring they don’t obstruct your view of the fish finder display. Some anglers may prefer a flexible rail system setup for more customization options.
Integrating other kayak fishing gear with your fish finder can greatly improve your overall experience and success while out on the water. Take the time to experiment and find the perfect balance of convenience and efficiency to make the most of your fish finder investment.
Making The Most Of Your Fish Finder Investment

Fish finders can be a significant investment, depending on the type and features you choose. To get the most out of your purchase, it’s essential to stay informed and take advantage of some key practices to maximize the value of your fish finder. Here are some tips to help you make the most of your investment:
Stay Updated on Software and Firmware
Fish finder manufacturers often release software and firmware updates to improve user experience, add new features, or fix issues. Therefore, it’s crucial to regularly check for updates and apply them promptly. This not only ensures that your fish finder operates at peak performance but also provides access to the latest innovations in sonar technology.
Connect with the Angler Community
By joining online forums, and social media groups, and participating in seminars and workshops, you can connect with fellow kayak anglers and share fish finder tips and experiences. Learning from the community can help you discover new ways to use your fish finder, tackle common issues, and better understand the technology behind it.
Explore New Fishing Spots
A fish finder enables you to scout underwater structures, map out new areas, and identify fish hotspots that you never knew existed. Do not hesitate to venture into unfamiliar territory in search of new fishing spots. Your fish finder can help you navigate previously unproductive waters and reveal new opportunities for a successful catch.
Adapt Your Tactics Based on Fish Finder Data
Utilizing the information provided by your fish finder that reveals fish size, depth, and locations can significantly improve your kayak fishing strategy. Identify patterns, be open to trial and error, and modify your approach based on the data gathered. This mindset of continuous learning and adapting will result in a more rewarding kayak fishing experience.
Invest in Quality Accessories
As you continue to use your fish finder, you may identify areas where additional investment in accessories may enhance its performance or usability. This could include an upgraded transducer, a better mounting solution, or a reliable power source. Remember, investing in quality components can ultimately prolong the life of your fish finder and improve your overall fishing experience.
Keeping up with software updates, connecting with fellow anglers, exploring new spots, adapting your techniques, and investing in accessories will ensure that you make the most out of your fish finder investment.
Frequently Asked Questions
1. How deep can fish finders detect underwater?
Fish finders can typically detect depths ranging from 60 to 3,000 feet or more, depending on the model and the specific type of sonar technology employed. Remember that factors like mount location, water temperature, salinity, and other factors may impact the effective depth range.
2. Are there waterproof fish finders specifically built for kayaks?
Yes, there are waterproof and water-resistant fish finders designed for kayaks. These devices can handle occasional splashes and exposure to moisture but may not be suitable for full submersion. When choosing a fish finder, look for an IPX rating (like IPX6 or IPX7), which indicates its level of water resistance.
3. Can I use a fish finder with a smartphone or tablet?
Many modern fish finders offer connectivity options that allow you to link your device with your smartphone or tablet via Wi-Fi or Bluetooth. By doing this, you can access additional features like GPS navigation and custom maps, or even share your catch data with your friends.
4. Do I need a separate GPS device, or can I use the one built into my fish finder?
Many combo fish finders include a built-in GPS system that offers accurate navigation and waypoint tracking. In many cases, the built-in GPS system will suffice for the majority of kayak anglers. However, dedicated GPS devices can provide more advanced navigation features and map options, which could be useful for more serious anglers and explorers.
5. How long do fish finder batteries typically last?
The battery life of fish finders depends on the specific device, battery type, and how much power it consumes. It is crucial to choose a reliable and lasting battery for your fish finder setup. Most kayak anglers opt for a 12-volt rechargeable battery, which can last anywhere between 7-20 hours on a single charge, depending on the model and usage.
6. Can fish finders help identify underwater structures, vegetation, and other features?
Absolutely! High-quality fish finders can help you identify various underwater structures, vegetation, and bottom substrates. By learning to interpret the fish finder’s display and understanding its sonar settings, you’ll be able to accurately recognize these features and enhance your overall fishing experience.
Conclusion
Adding a fish finder to your kayak can significantly improve your overall fishing experience. By following the steps and advice outlined in this article, you’ll be well-equipped to install, maintain, and make the most out of your fish finder. Remember, the key to success is understanding the features and capabilities of your device while staying safe and adapting your techniques accordingly.
It’s not only about the gear you use but also the attitude and willingness to learn that make a kayak angler truly successful. A fish finder is just one tool that, when used properly, can provide you with vital information to help achieve the perfect catch. Fish-finding technology continues to evolve, and the possibilities are endless as you explore and embrace innovation. It’s time to make the most out of your kayak fishing adventures and enhance your skills using a fish finder. Tight lines and happy paddling!